This guide will give you all the information on boat wrap costs. Do you want to make sure that you’re paying the right amount to wrap your boat? Then read on. If you’re looking to put a funny name or a billboard on your boat or just want a new look, a vinyl boat wrap may be the best option for you.
Vinyl boat wraps are perfect for boaters who want to change the look of their boat from time to time and give it a stylish look. But what is a boat wrap, and how much does it cost to wrap a boat? In this article, we’ll explain what boat wraps are and the factors that determine the price of a boat wrap. You can also learn how to wrap your boat with vinyl like a pro with our step-by-step guide!
Boat Wrap Cost in 2024
Full vinyl wraps start at $1,000 for a 12 to 16 feet long fishing boat but are typically $1,400 and more, depending on the boat type and size. An 18-foot boat wrapping can cost approximately $2,500.
These prices usually include both materials and installation fees. A DIY vinyl boat wrapping can be less than half or a third of this cost.
When you look at a boat wrap’s price guide, the numbers can vary depending on the size of the boat and the type of design you’re looking for. For example, if a single color mimics a paint job, the cost will be less than a more complex custom design.
The type and size of the boat will also affect the price. A larger boat will cost more than a smaller boat. There are several types of vinyl wrap. For example, if only half of the boat is wrapped, the cost is about half of what a full wrap would cost.
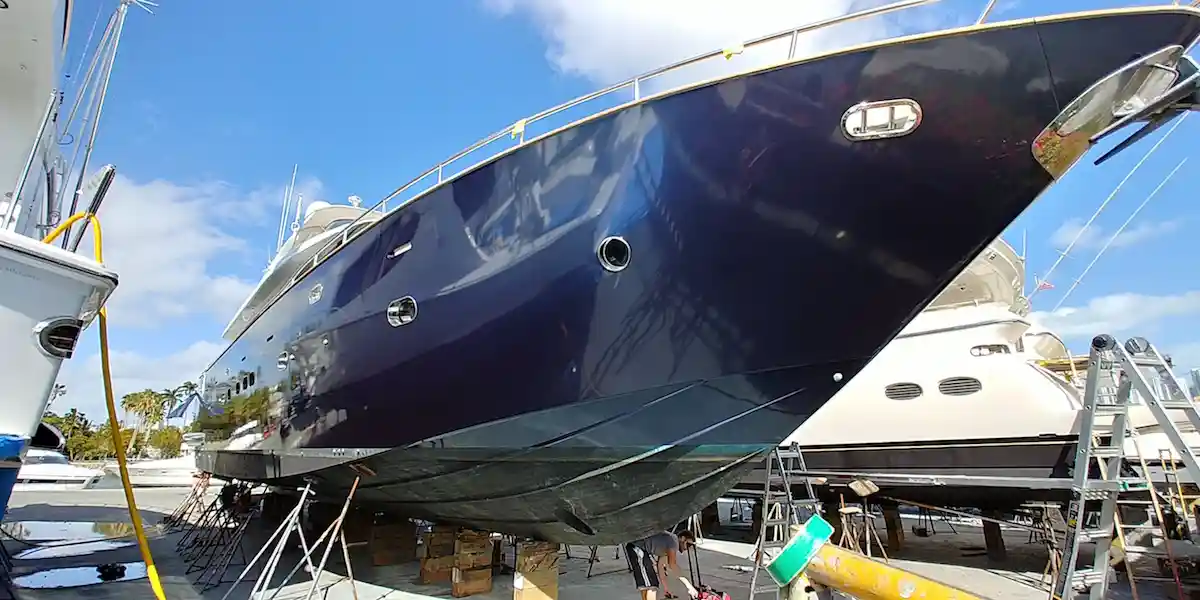
What Is a Vinyl Boat Wrap?
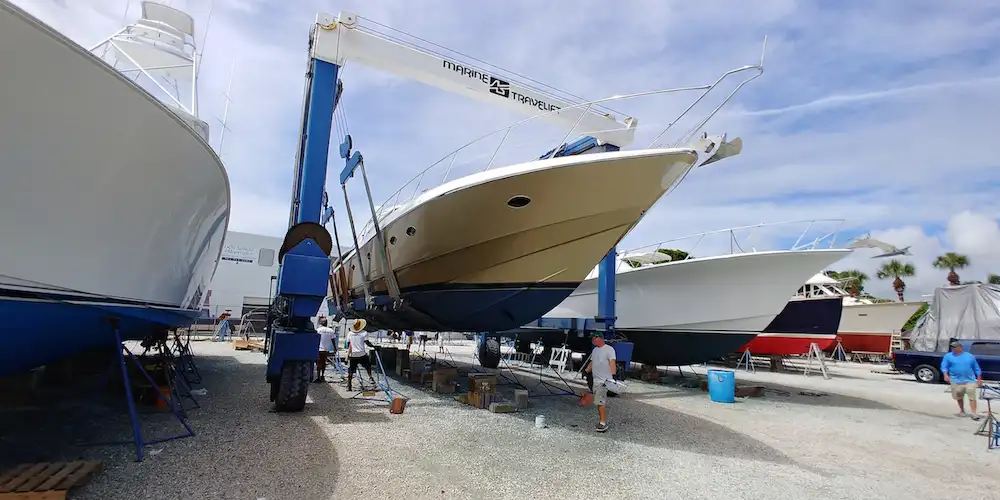
Image credit: Marine Wraps, Florida
A vinyl boat wrap is a protective piece of pressure-sensitive vinyl that is applied to the exterior of the boat. Vinyl wraps are useful for several reasons. They are a very easy way to decorate a boat, especially if you want to use the exterior of your boat as a billboard.
Vinyl wraps are also great if you want to preserve the natural finish of the hull. Many people want to keep the white paint on the underside when they sell the boat. Vinyl wrap is an easy way to enhance the boat quickly without reducing its resale value.
If you want to change the design of your boat every few years, vinyl wrap is the perfect option. Traditional paint is much more expensive if you intend to replace it every few years.
Vinyl siding, however, is much cheaper because all you have to do is peel off the old film and apply a new one.
How Long Does Vinyl Wrap Last?
A vinyl wrap usually lasts between 3 to 8 years. Of course, the lifespan of vinyl depends on how well it is cared for. Vinyl films are prone to scratches and dents when docked.
Many vinyl wrap manufacturers provide their customers with a repair kit to touch up minor scratches, so you don’t have to worry about a little mishap.
The longevity of your vinyl siding also depends on the quality of the material and installation. If you want your boat to last longer than two or three seasons, it’s essential to have it coated by experienced professionals.
Pros of a Vinyl Boat Wrap
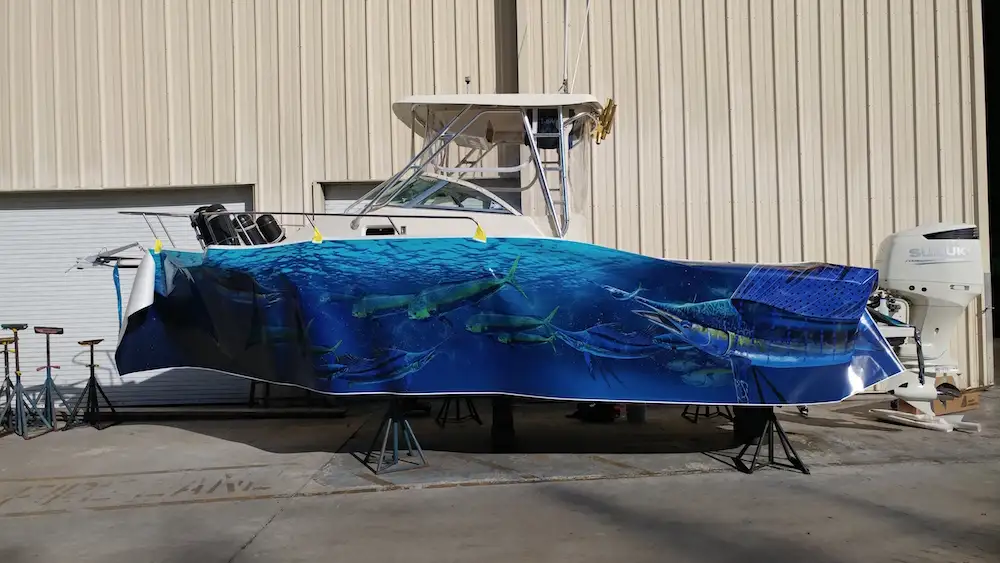
Image credit: Marine Wraps, Florida
- Vinyl is usually cheaper to repair than paint.
- As for durability, it’s hard to say which is better. Vinyl is touted as more UV resistant and less prone to fading than paint.
- As mentioned earlier, vinyl siding can last anywhere from 3 to 8 years. They still require maintenance, but repair is often much easier than color matching and repainting.
- Vinyl wraps are also very environmentally friendly. They don’t use solvents or chemicals. The same is true of traditional boat coatings, which can sometimes endanger marine life.
- Vinyl coatings are also much more customizable than paint. The colors are usually brighter, and the result is a high gloss.
- If you want a bigger paint job, it will cost more than a single coat. However, the cost difference between simple and complex vinyl designs is not significant.
DIY Vinyl Boat Wrapping: Step-by-Step Instructions for a Professional-Looking Finish
Learn how to wrap your boat with vinyl like a pro with our step-by-step guide. Discover the tools, techniques, and tips for a seamless, professional-looking finish.
Boat owners are increasingly turning to vinyl boat wrapping as an affordable, efficient, and customizable way to protect and upgrade their vessels.
With the right tools and some patience, you can achieve professional-looking results with a DIY vinyl boat wrap.
In this comprehensive guide, we’ll walk you through the entire process, from selecting materials to applying the wrap and beyond.
Step 1: Choose the Right Vinyl Material
Your first step is selecting the right vinyl material for your boat wrapping project. High-quality, marine-grade vinyl is essential for durability and longevity. Look for materials that offer:
- UV resistance to prevent fading
- Water resistance to prevent damage and mold growth
- Stretchability for easy application and removal
- Air-release channels to avoid air bubbles
Consider the color, design, and finish (gloss, matte, or satin) that best suits your boat and personal preferences.
Step 2: Gather the Necessary Tools
To complete your DIY vinyl boat wrap, you’ll need the following tools. Luckily you can buy the wrap kit, including heat gun, tools, and accessories, on Amazon.

Here is what you will need:
- Measuring tape
- Utility knife or vinyl cutter
- Squeegee with a soft, non-abrasive edge
- Heat gun or hairdryer
- Isopropyl alcohol (IPA)
- Lint-free microfiber cloths
- Masking tape
- Vinyl application gloves
- Spray bottle with water and a few drops of dish soap
Step 3: Measure and Order Your Vinyl
Carefully measure the dimensions of the areas you plan to wrap on your boat. It’s crucial to account for curves and overlaps when calculating the amount of vinyl needed.
Order slightly more vinyl than you think you’ll need to account for errors and repositioning. You can order your vinyl wrap on Amazon here. Here are some other vinyl wraps in matte metallic blue, and this is another great option.
Step 4: Prepare Your Boat
Thoroughly clean your boat, paying extra attention to the areas you’ll be wrapping.
Use a marine boat wash like this one to remove any dirt, grease, or wax from the surface. This step is critical to ensure proper vinyl adhesion and a smooth finish.
Step 5: Apply the Vinyl Wrap
Now, it’s time to apply your vinyl wrap. Follow these steps for the best results:
- Cut the vinyl into manageable sections, leaving a few inches of extra material on all sides.
- Peel back the backing paper to expose the adhesive side of the vinyl.
- Carefully align the vinyl onto the boat’s surface, using masking tape to hold it in place.
- Spray the adhesive side of the vinyl and the boat’s surface with the water and dish soap mixture. This will allow you to reposition the vinyl easily.
- Starting from the center, use the squeegee to push out any air bubbles and water. Work your way outward in smooth, overlapping strokes.
- Use the heat gun or hairdryer to warm the vinyl, especially around curves and edges. Stretch the material gently as needed.
- Trim any excess vinyl with the utility knife or vinyl cutter, leaving a slight overlap at the edges for a clean finish.
Step 6: Inspect and Seal the Edges
Once the vinyl is applied, carefully inspect the entire boat for any bubbles, wrinkles, or imperfections. Use the squeegee and heat gun to smooth out any issues, being cautious not to overheat the vinyl.
Pay close attention to edges, seams, and any hardware on the boat.
After inspection, it’s time to seal the edges. Use the heat gun to heat the edges and seams gently, pressing the vinyl down with the squeegee to ensure a tight seal.
This step is crucial for preventing water ingress and prolonging the lifespan of your vinyl wrap.
Step 7: Post-Installation Care
Maintaining your vinyl boat wrap is essential to keep it looking great and protecting your investment. Here are some tips for proper post-installation care:
- Wait at least 48 hours before exposing your boat to water. This allows the vinyl adhesive to cure properly.
- Regularly clean your boat with a mild soap and water solution. Avoid using harsh chemicals or abrasive materials that could damage the vinyl.
- Apply a vinyl sealant or wax every 3-6 months to protect the wrap from UV damage and extend its lifespan.
- Inspect the wrap periodically for any signs of damage, lifting edges, or fading. Address any issues promptly to avoid further damage.
With the right materials, tools, and patience, you can achieve professional-looking results by wrapping your boat with vinyl.
By following our step-by-step guide, you’ll protect your investment and give your boat a stunning new look that will make you the envy of the marina.
Happy wrapping!
Vinyl vs Paint Job
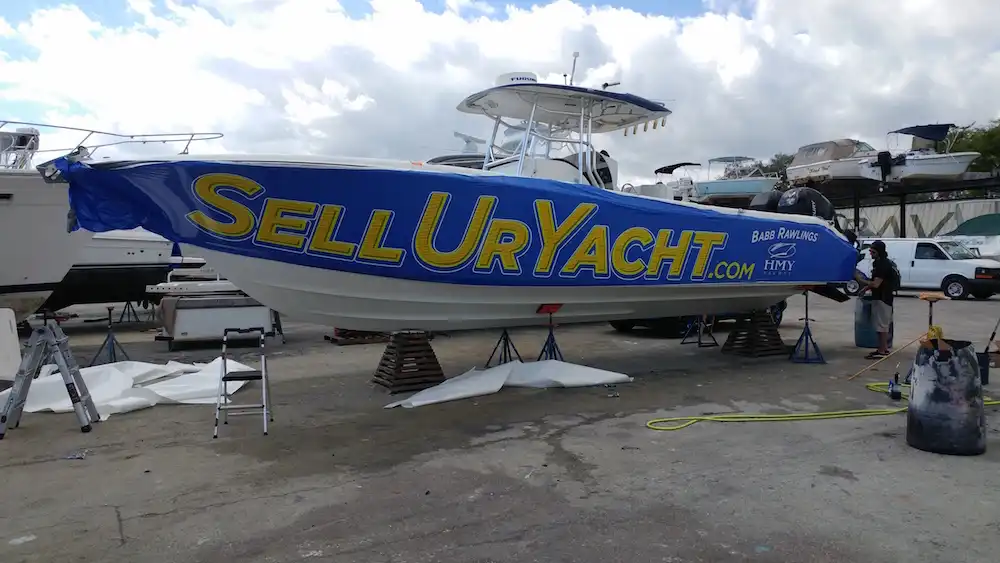
Image credit: Marine Wraps, Florida
Vinyl wrapping is usually much cheaper and faster than painting your boat. Vinyl typically costs about a third of what a paint job costs.
A big part of the cost savings is in the shortened labor time. A paint job can take much longer. The boat must be prepared with a primer before painting can begin.
All you need to do with vinyl siding is smooth the hull and sand down any imperfections before wrapping the boat with vinyl. Once the air is removed and the vinyl firmly adheres to the boat, the job is done!
This can be helpful for boaters who want to get their boat up and running and enjoy it right away rather than waiting for the paint job to be completed. Time is also money for charter yachts; they can make more if they don’t have to wait for the top to be painted.
Bottom Line on Boat Wrap Costs
Vinyl wrap is perfect for giving your boat a new look and is very easy to customize. If you plan to swap out one design for another in a few years, vinyl wrapping may be just what you need!
The price of boat wrapping is almost always lower than painting and is less costly to repair. Hope you learned how to wrap your boat with vinyl like a pro with our step-by-step guide!
See Also:
- Painting Over Gelcoat – Easy Boat Repair Guide
- 10 Best Liveaboard Marinas In The US
- The Best Liveaboard Marinas In California
- 10 Best Liveaboard Marinas in North Carolina
Image credit: Marine Wraps, Florida