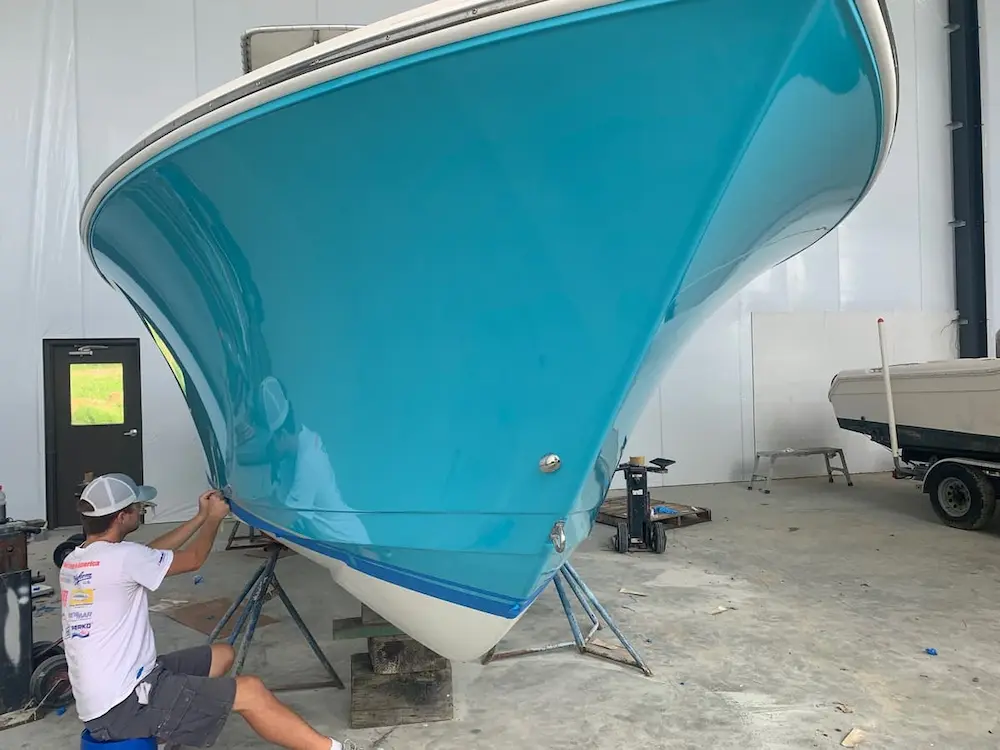
When you’re looking to give your boat a fresh new look, painting over gelcoat is a viable option. Gelcoat, often used on boats serves as a protective layer and can act as a base for paint when the surface starts to show its age. Before you dive into the painting process, it’s important to assess the condition of the existing gelcoat.
A solid, well-maintained gelcoat provides a great foundation for new paint, ensuring it adheres properly and lasts longer. Remember, this refresh isn’t just about looking good; it’s also about protection against the elements.
Key Takeaways
- Gelcoat can be a sturdy base for new paint on your marine vessel.
- Ensure the gelcoat is in good condition or repaired before painting.
- Proper surface preparation and using marine-grade materials are essential.
Can You Paint Over Gelcoat?
Yes, you can freshen up your boat by painting over an old gelcoat. Think of gelcoat like your skin protecting your body; it shields the fiberglass on your boat from water and sun.
Like skin needs some prepping before makeup, gelcoat needs a little TLC before getting a paint job.
Here’s what you need to know:
- Check the Gelcoat: Inspect it first. You’re good to go if there are no big cracks or damage.
- Clean Up: Get rid of dirt and grime. A clean surface means paint will stick better.
- Sand Down: Use sandpaper to make it smooth. It helps paint to hold on and stay put.
- Prime Time: Slap on a primer. It’s like underwear for paint – it goes on first to make everything else look better.
- Paint Away: Now, bring in the color! Pick marine paint that’s meant to flex and move with your boat.
You can buy marine-grade gelcoat and necessary equipment on Amazon.
Remember, patience is key. Don’t rush it, take your time to do it right. Your boat will thank you with a shiny, new look that’ll last a bunch of sunny days and cool waves.
Preparation for Painting Over Gelcoat
Before you start slapping on a new color, you’ve gotta prep that gelcoat right. This means making sure the surface is smooth, clean, and ready for a fresh coat to stick to.
Gelcoat Basics
Gelcoat is like your boat’s shield, guarding the fiberglass from the elements. But before you paint, you need to check the surface.
If you spot cracks or damage, you’ll need to fix those first. Gelcoat should be solid and stable to ensure the paint sticks well.
Surface Preparation
Proper surface prep is key to a top-notch paint job. Start by washing the surface to remove any dirt or grime. You may need to use a stain remover if there are any stubborn blotches.
After cleaning, grab your sandpaper—80 grit is a good start—and sand the surface. This roughs it up a bit, which helps the new paint bond better. Sanding should be thorough but not harsh enough to damage the fiberglass.
Remember:
- Clean thoroughly
- Sand evenly
- No skipping stubborn spots
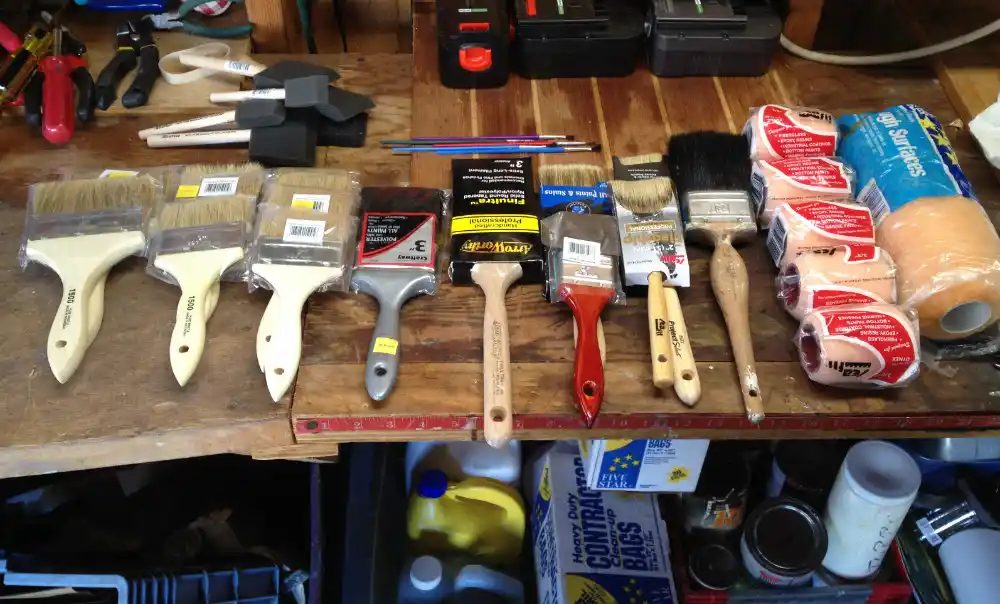
Equipment and Materials Needed
You’re going to need some specific stuff to get that gelcoat ready for painting. Here’s a quick list:
- Sandpaper (80 grit)
- Cleaning supplies (soap, water, stain remover)
- Epoxy primer
- Masking tape (for those areas you don’t want painted)
- Tack cloth or a clean rag (to wipe away dust)
Before you start with the primer, make sure to wipe the surface down to collect any dust from sanding.
Dilute marine soap in water and wash the surface with it.
We recommend using marine soap instead of regular dishwashing detergent because it is environmentally friendly and is more suitable for the task.
Then, tape off the areas where you don’t want paint, like hardware or trim, using masking tape.
This will keep your lines clean and professional-looking. Once all’s prepped and primed, you’re ready to move on to the actual painting!
Repairing Gelcoat Damage
Before you even think about applying a fresh coat of paint, you’ve got to make sure the gelcoat beneath is in good shape.
If it’s banged up or has some age lines, then stick around to learn how to set things straight.
DIY Paint Options Over Old Gelcoat
If your boat’s gelcoat is just looking tired and faded but not in total disrepair, you might be able to freshen it up yourself.
Start by giving it a thorough cleaning and then a light sanding to get a smooth surface.
You can use a polish to help enhance the shine, especially if it’s not too oxidized—a little elbow grease goes a long way.
For areas that are more worn, a rubbing compound might be your best bet to prepare the surface for painting.
Fixing Cracks and Scratches
Got some minor battle scars on your boat? Small cracks and scratches are part of the game. To fix them, you’ll want to clean the area really well first.
Then use a repair compound that’s formulated for gelcoat.
Apply it carefully to fill in those pesky imperfections. After it cures, sand the area until it’s smooth as butter. With a bit of patience, those little nicks won’t stand a chance.
Dealing with Major Cracking and Holes
When the damage is more “yikes” than “whoops,” it’s a different ball game. Major cracking or holes in the gelcoat need a stronger approach.
You’re gonna dive in with some resin or epoxy putty, depending on what you’re dealing with. Fill those bigger boo-boos with the epoxy putty and give it time to set. It’s like putting a band-aid on, but stronger and a lot less rubbery.
After it hardens, sand the area smooth. This preps the surface so the follow-up paint job doesn’t just look good but sticks around for the long haul.
Applying Marine Gelcoat Paint
Before you get started, make sure you have your paint, primer, and tools ready. The key to a successful application is in thorough prep work and the right painting technique.
Priming the Surface
Getting the surface ready is a big deal. First up, clean the boat hull thoroughly to get rid of any dirt. You’ll need to use an epoxy primer to help the new paint stick.
Apply it evenly with a sprayer or a brush. Make sure the primer is compatible with both your gelcoat and the topcoat.
Painting Techniques
Your choice of paint matters a lot. Polyurethane paint is popular for its durability and glossy finish. When it’s time to apply, a spray gun is your best pal for that smooth, professional look.
For painting, you can use the traditional brush or spray technique. If you use a spray gun, keep the nozzle about six to eight inches away from the hull and spray in a consistent, back-and-forth motion.
If you’re using a can of spray paint, shake it well and use the same spraying technique. Need a color match? Take a piece of the old gelcoat to a paint shop to get the closest match.
Polishing for Perfection
After the paint dries, it might not be as shiny as you’d like just yet. That’s where polishing comes in. Grab a polishing compound and work in small sections until the whole surface shines.
This also helps to remove any small imperfections from the painting process.
Protection and Maintenance
Finally, don’t just admire your work—protect it. Apply a protective wax to shield the paint against the elements.
Regularly wash your boat with gentle soap and water, which will help maintain both the gelcoat and the paint job.
Remember, each step is as important as the last, so take your time and do it right for the best results. Your boat will thank you with a glossy finish that lasts!
Our Pro Tips
- Wear eye protection and rubber gloves when working with acid-based stain remover.
- Make sure you do the repairs in a well-ventilated area. Probably in an open space on a clear, warm day.
- Protect the gelcoat surface by applying a coat of wax to it. It will help keep the gelcoat looking new for years or perhaps decades.
- You can use chelating anti-slip cleaners to break the bond between the dirt and the boat surface and avoid heavy scrubbing.
- Acid-based stain removers come in gel form, making them very easy to use. Little or no scrubbing is required.
- Keep the stain remover away from painted and galvanized surfaces, as the acid will attack them.
- Use a high-quality polish if the gelcoat is not heavily oxidized. Using polish on a damaged gelcoat is not effective.
- On the other hand, oxidation can be easily removed by rubbing compounds without having to rub too hard. So be careful not to use too much force, as this could damage the boat’s surface.
- Opt for spray paints as they are quick and easy to apply.
- Remove all hardware. It’s easy to accidentally paint, or wax installed hardware, which could damage your belongings.
Conclusion
Revamping your boat’s looks can be a breeze when painting over gelcoat. Remember, quality matters. Go for the best paint you can get your hands on; it’ll last longer and look sharper. You can buy premium marine gelcoat on Amazon here.
Take your time with each coat to get that smooth, professional look. So there you have it—fresh paint over gelcoat isn’t just doable; it’s a great way to give your boat a new lease on life.
See Also: